Now that I have completed
Phase One - assembling the body of the test coat - I can now embark on phase two, setting the collar and lapels and lining the coat.
Although I cut the pattern for the coat in one go, I left the collar and lining pattern until this point so that any problems could be resolved before proceeding.
As it happens all has gone well so far, but it was still as well to wait.
The collar and lapel draft are a little tricky, due to the unique roll line running right down to the hem.
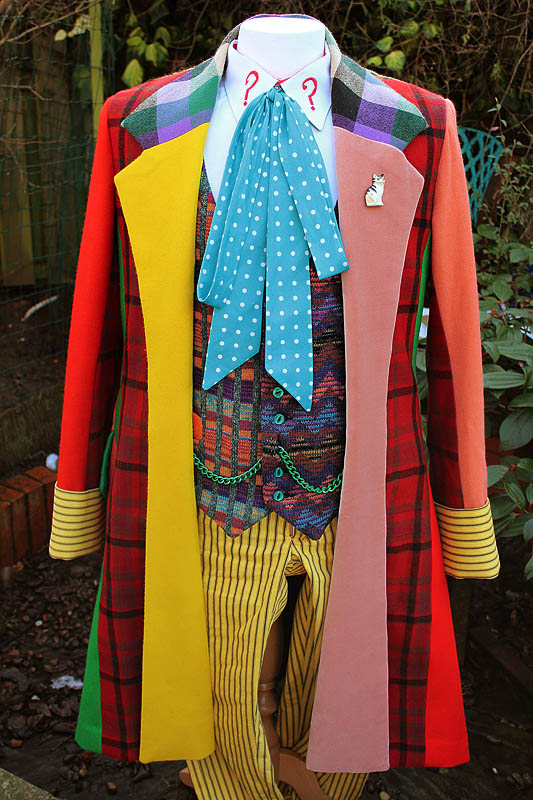
I had provisionally included the lapel facing in my pattern block to make sure it would work – you can see part of the lapel shape on the right-hand side of the block (
see left).
I will now redraw it in full to create my pattern.
The lining is going to have to be a little unusual, as I will need to pattern it in its entirety, not just for the pieces adapted from the body of the coat.
The skirt of the body is made from five panels each side, and this will be vastly simplified for my pattern, plus I need to plan in the internal pockets, which are surpassingly minimal and basic in design. More on that later.
I first take my block for the coat body, and retrace the common parts: the back, coat tails, side panel and area of the front.
The lining for the skirt needs to be split at the side seam. This is the back edge of the panel with the outer pocket. I cannot simply trace the existing lines, as I need to make sure my hem circumference matches the body, so there's a bit of jiggery-pokery to crib the combined curve from the skirt panels.
Giving you a sneaky preview of the finished coat, you can see the outer seams (
above, left) highlighted in green, compared to the lining seams (
above, right).
the two narrow triangles of the skirt have been combined into the wider panels adjacent to them.

 Following on from the initial batch of dyed samples from my supplier (see left), I have been able to feedback some comments.