Friday 24 December 2010

Sixth Doctor costume transition

This week I’ve been taking a little look at an area of The Doctor’s costume that sometimes gets overlooked: The Costume Transition Scene!
I’m taking about that moment in the first episode of a new Doctor where the old skin is finally shaken off and a re-designed costume helps define the start of a new era in Doctor Who history.

When William Hartnell became Patrick Troughton, it wasn’t just his face that changed – his costume miraculously regenerated at the same time.

Later, when Jon Pertwee took over, his new clothes were more realistically introduced by having The Doctor lift them from the changing room of the hospital where he is taken at the start of Spearhead From Space.

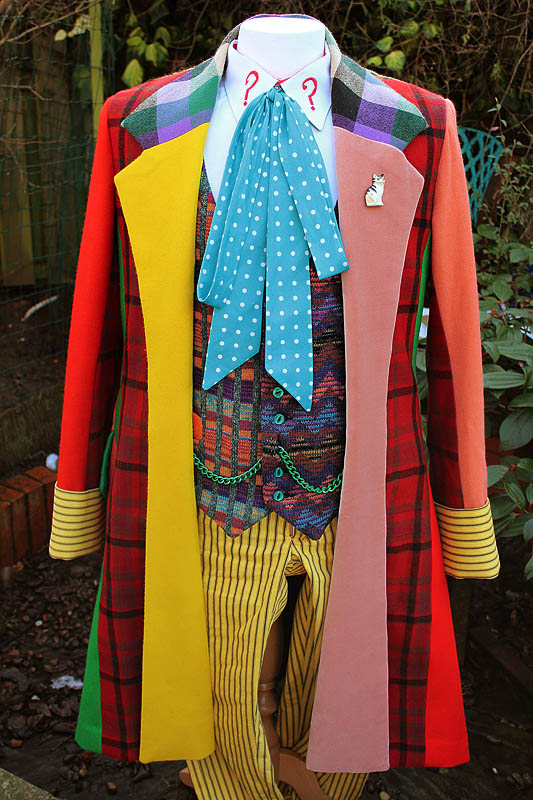
But it was Tom Baker’s transition scene that was the first to make some play on the anticipation of what The Doctor would be wearing.

Looking through the list of regenerations, I have realised there seems to be two dominant scenarios for these scenes:

The Hospital Changing Room scenario
The Third Doctor steals the clothes of a hospital consultant before stealing his car as well; after the Eighth Doctor emerges from the morgue, he takes the clothes of a surgeon, who is going to a fancy dress party; the latest regeneration sees the Eleventh Doctor lifting a the parts of his costume from the hospital locker room as he strides through.

The TARDIS Dressing-up Room scenario
Although we don’t see the dressing-up room, the Fourth Doctor keep popping out of the TARDIS dressed in unsuitable costumes; the Fifth Doctor finds his new clothes in the TARDIS, almost as if he was supposed to; the Sixth Doctor is the first to be seen in the dressing-up room to choose his new clothes; followed by the Seventh Doctor who goes through a similar selection; finally the Tenth Doctor makes his choice from a re-imagined dressing-up room, courtesy of The Mill’s special effects gurus!

Friday 17 December 2010

Merry Christmas to all my readers!

I can’t believe a year has flown by since I last wished everyone a Happy Christmas.


Looking back though, a lot has happened and I’ve completed or started a number of amazing projects.

From updating my Tennant Coat; making a Five Coat or two; starting a replica Tennant suit jacket using original GAP Trousers; making a couple of Inverness Capes (must get round to writing that up!); as well as some smaller item such as Five Hatbands, Six Cravats and Seven Hankies.
However, I think the most exciting has been starting work on a replica Six Frock Coat, which I am so looking forward to getting done next year.

I hope you’ll join me in the following months as it starts to come together.

Friday 10 December 2010

Ultimate Six Frock Coat - drafting the block

This last week I spent some of my time at college on drafting the block for the Six Frock Coat I am working on.

The purpose of doing this is to pull together and accurately draw up the pattern trace I took of the original coat, so I can then make my pattern with seam allowances and everything else that will make it work.

I took along my Six Coat from 1985 (see right) to show my tutor where all this started for me, as well as the most useful crib for when I was drawing the block.
Being only a teenager at the time, I was quite a bit smaller then, so the only college mannequin it fitted  was a ladies size 10!

Wednesday 1 December 2010

Ultimate Six Frock Coat - collar fabric

Fabric 6

After the success of preparing the Red Tartan for weaving, this month I’m now looking at the fabric for the collar.

This is a doubly difficult one to match: firstly it is woven from a number of colours which mix with each other to make further variations, and breaking this down to the colour of the yarns needs some careful observations; also there isn’t that much of it on the coat (just the collar, two pocket flaps and a brace between the back buttons). None of these pieces is individually large enough to demonstrate the size of the pattern repeat, a I will need to put them together like a jigsaw puzzle to find this out.

The things to initially work out are the base set of pure colours it is made from; how these mix to produce the finished result; and the size of the pattern repeat.

To do this I need to look closely - VERY closely. I was hoping it might be possible, using a very high res scan, to isolate the individual threads and work out a colour match (see below), but the weave is quite tight, and the adjacent strands make it difficult to be objective about it, so that won’t work.