Here’s what I found.

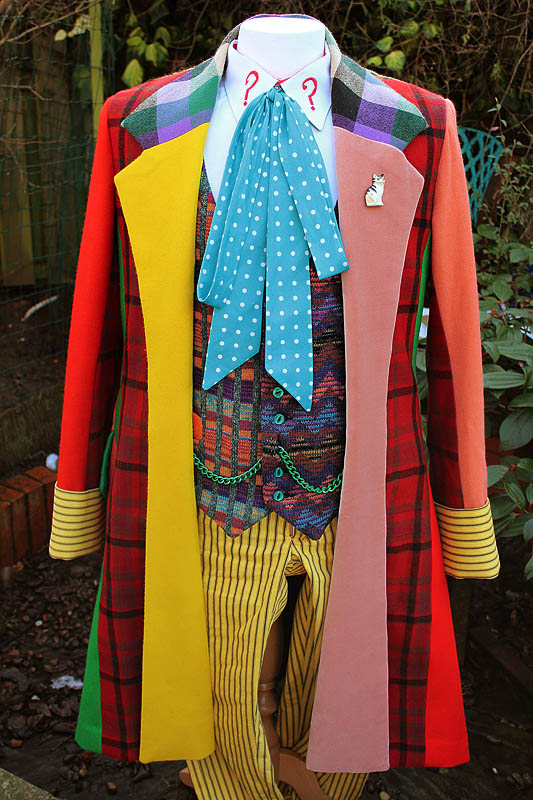
Sixth doctor costume
red watch chain (NOT screen worn)
SOLD FOR £155
Original Doctor Who prop - Sixth doctor costume watch chain - from JNT!!! - one of a kind
With Certificate of Authenticity
This is an unbelievable piece for all Dr Who fans.

This is an original dr who production watch chain for Colin Bakers season 23 Trial of a Timelord.
This watch chain came from the personal collection of John Nathan turner and was kept in a box of small hand props he had which included items such as the Tardis Key and Doctor's Calling Card that were acquired at auction.
The Chain was not used in the Trial of a Timelord as a different style was decided on in the end with a slightly thicker link, however it was used by Colin at various public appearances as the 'Doctor' during this time and can be seen in publicity shots from the era.
This is a once in a lifetime opportunity and is brought to you with no reserve.
The piece is presented in a 3D display box frame and comes with a certifcate of authenticity from the doctor who prop experts from whom I bought it - he acquired in a from JNT.
I only had the two waistcoat sides of the chain, so when this is gone - that is it!
I also found some further eBay listings relating to other Doctors