This has now been resolved, so I can now show you what I have been up to.
 Spoonflower is great - don’t get me wrong, but it does sometimes struggle with achieving certain colours and tones.
 This is ironic as they print with a multi-ink system, running cyan, magenta, yellow and black plus special green and orange which conciderably broadens the gamut of colour they can match.
However, though this is good for bright vibrant colours, they can have problems with richer or darker shades.
Their black, even at full intenstiy, reads as a dark grey, so they can never hit the depth needed to do a GAP pinstripe ala the Tennant Suit - believe me, I tried!
I have 20 years in the print industry before tailoring, so if anyone has an insight into colour, I think I have an advantage.

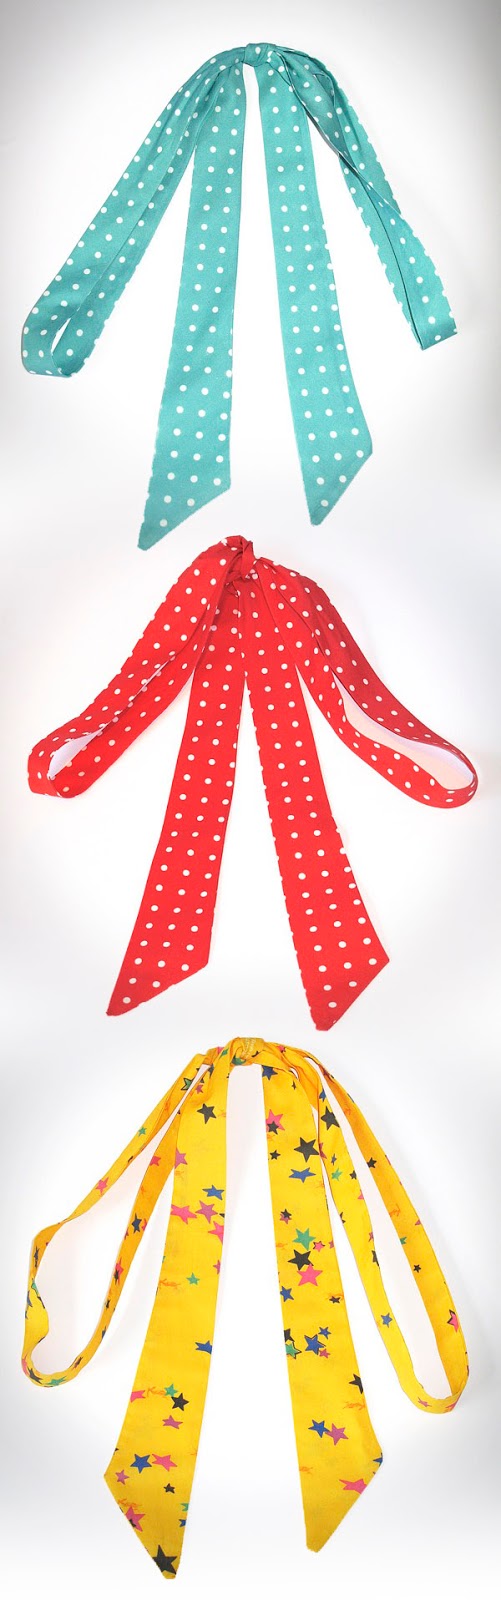
The turquoise on the other hand proved to be an issue in it’s own right.
The colour is basically cyan, but with some yellow in there to move it towards a green. The level of yellow becomes critical, as to much and it will look too green; to little and the cyan will dominate making it a sky blue. I guess I was a little cautious to begin with and the yellow just did not come though, making my first effort look a sky blue colour.
Never mind.
As I said, I have now raised the yellow level, and now have a good match (see above).
So, as with the yellow star cravat, the first thing I need to do is cut out the two halves of the cravat ready for sewing (see above).
Because it is cut on the cross, the joining seam has to follow the grain and be sewn on the cross too.
The two halves are pinned together and a light pencil guideline is drawn along the seam line (see below, left). This is then sewn (see below, right).


The cravat is then gently folded along its entire length and pinned ready for sewing.
This has to be done carefully, as any excessive pulling will stretch the fabric along the length, making it difficult to sew.

It is then pressed flat, which is quite tricky as again, the cravat is prone to distortion if pulled too hard.
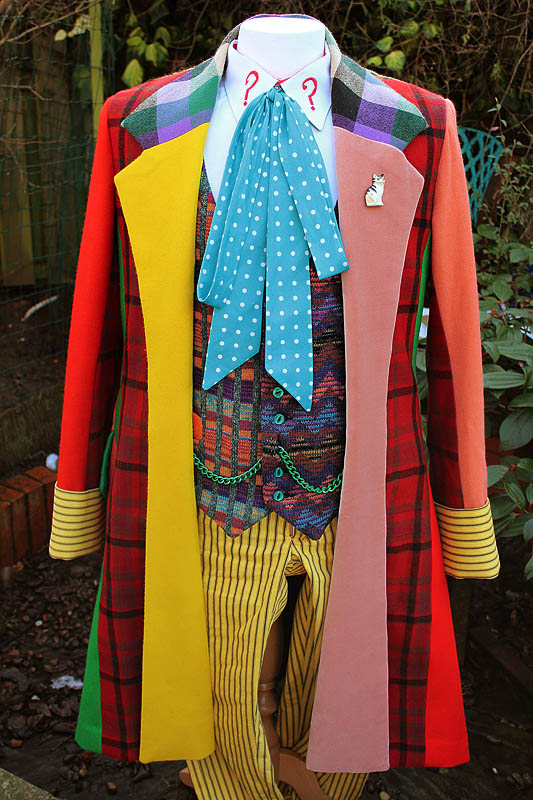
And here is the finished red cravat, displayed with my 25 year old Six Frock Coat I made when I was at college.
It looks very much the part!


No comments:
Post a Comment
Note: only a member of this blog may post a comment.